This post contains affiliate links.
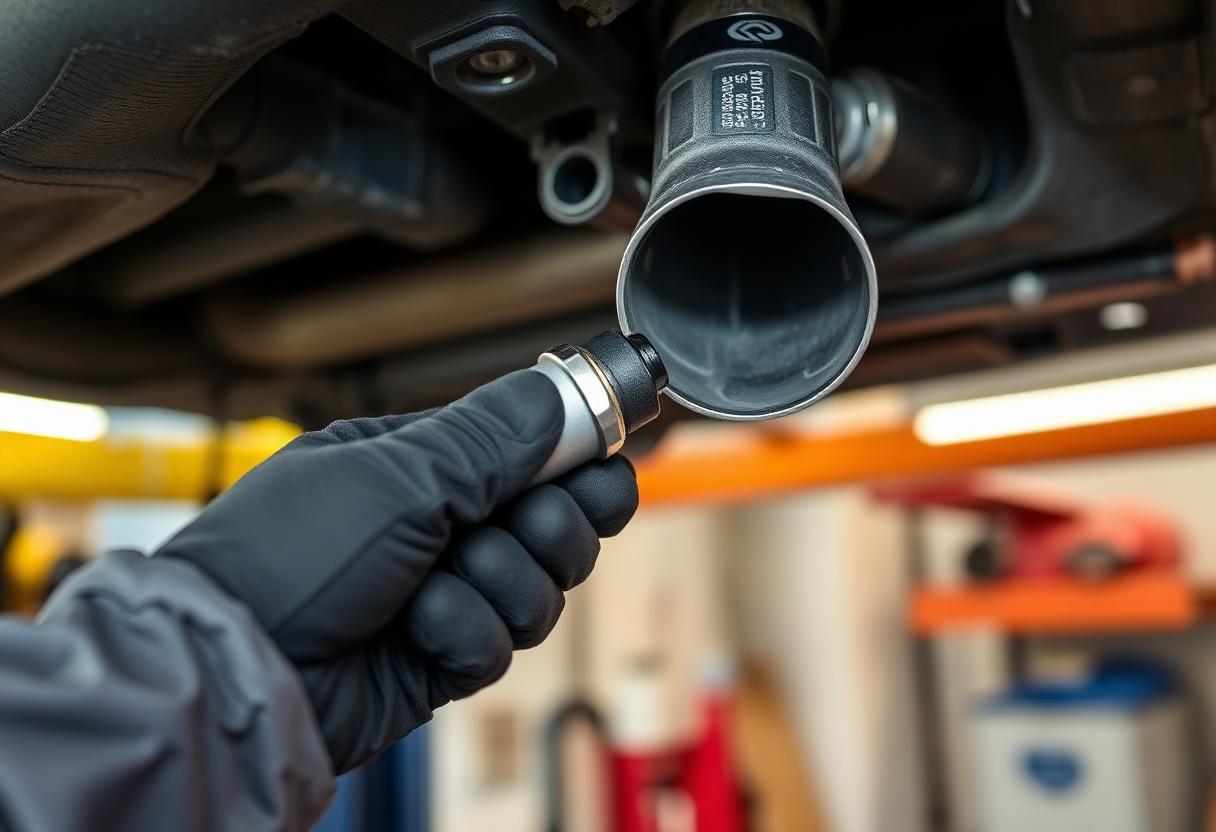
A failing oxygen (O2) sensor is one of the most common reasons a check engine light comes on, and it is also one of the most DIY-friendly fixes on the car. Replacing one usually takes 20-40 minutes with basic hand tools and can save you a shop’s diagnostic-plus-labor bill. This guide walks you through how to replace an O2 sensor safely, including how to free a sensor that is seized into the exhaust and how to clear the code afterward.
What the O2 Sensor Does and When to Replace It
Oxygen sensors measure the amount of unburned oxygen in the exhaust so the engine computer can fine-tune the air-fuel mixture. Most modern cars have at least two: an upstream sensor (before the catalytic converter) that controls fuel trim, and a downstream sensor (after the converter) that monitors the converter’s efficiency.
Common signs a sensor has failed include:
- A check engine light with a related code, such as P0171 (system too lean), P0135 (heater circuit), or P0420 (catalyst efficiency).
- Noticeably worse fuel economy.
- A rough idle, hesitation, or the smell of rotten eggs from the exhaust.
- A failed emissions or smog test.
Before you buy a part, scan the car and confirm which sensor the code points to (bank and sensor number). A code like P0135 names Bank 1, Sensor 1 – the upstream sensor on the same side as cylinder number 1. Replacing the wrong sensor is the most common and most expensive mistake here. If you don’t own a scan tool, our OBD2 scanner comparison covers good budget options.
Tools and Materials You’ll Need
- The correct replacement O2 sensor for your exact year, make, model, and engine (match the connector and bank/sensor position)
- An O2 sensor socket (22mm with a wire slot) or an offset O2 sensor wrench
- A ratchet, extension, and a breaker bar
- Penetrating oil (e.g. PB Blaster or equivalent)
- Anti-seize compound – only if the new sensor does not already have it on the threads
- Jack and jack stands, or ramps, if the sensor is only reachable from underneath
- Gloves and safety glasses
- An OBD2 scanner to read and clear the code
Safety First
Work on a cold engine. The exhaust and sensor reach several hundred degrees and stay hot long after shutdown. Let the car cool for at least an hour before touching the exhaust. Never work under a car supported only by a jack – always use jack stands on solid, level ground. Disconnect nothing electrical until the key is off.
Step-by-Step: Replacing the O2 Sensor
1. Confirm the sensor and let the car cool
Scan the vehicle, note the exact code and the bank/sensor it references, and locate that sensor on the exhaust. Let the engine and exhaust cool completely.
2. Raise the car if needed
Some upstream sensors are reachable from the engine bay; downstream sensors usually are not. If you need to go underneath, raise the car and set it securely on jack stands.
3. Disconnect the sensor’s electrical connector
Trace the wire from the sensor to its plug and unclip it. Press the release tab rather than pulling on the wires. If the connector is dirty, wipe it before separating it.
4. Soak and break the sensor loose
Spray penetrating oil on the sensor’s base where it threads into the exhaust and give it a few minutes to work. Fit the O2 sensor socket (routing the wire through its slot) or an offset wrench, and break the sensor loose with a breaker bar. Seized sensors can be stubborn – steady pressure works better than sudden jerks.
5. Remove the old sensor
Once it breaks free, unthread it the rest of the way by hand and remove it.
6. Prepare and install the new sensor
Most quality sensors come with anti-seize already applied to the threads. If yours does not, apply a thin coat of anti-seize to the threads only – keep it off the sensor tip, or you can contaminate it. Thread the new sensor in by hand first to avoid cross-threading.
7. Torque it correctly
Snug the sensor to the manufacturer’s spec, typically around 30-45 lb-ft (check your service information for the exact figure). Do not overtighten – an over-torqued sensor can be nearly impossible to remove later.
8. Reconnect and route the wiring
Plug the connector back in until it clicks, and route the wire away from the hot exhaust and any moving parts. A wire that melts against the pipe will just set a new code.
9. Clear the code and verify
Reconnect anything you unplugged, then use your scanner to clear the stored code. Start the car and let it reach operating temperature, then confirm the light stays off and no new codes return. It can take a drive cycle or two for readiness monitors to reset.
Common Mistakes to Avoid
- Replacing the wrong sensor. Confirm the bank and sensor number before buying – upstream and downstream sensors are not interchangeable.
- Getting anti-seize on the sensor tip. It contaminates the sensing element and can cause a fresh code.
- Over-tightening. Torque to spec so the next person (maybe you) can get it out.
- Ignoring the real cause. A P0420 is often the converter, and a lean code can be a vacuum leak – a new sensor won’t fix those.
Frequently Asked Questions
Do I need to replace all the O2 sensors at once?
No. Replace the specific sensor the code points to. Some owners of high-mileage cars choose to do both on one bank while they are underneath, but it is not required.
Can I drive with a bad O2 sensor?
You can usually drive short-term, but expect worse fuel economy and higher emissions, and you will fail a smog test. Fix it promptly – a rich mixture from a bad sensor can also shorten the life of the catalytic converter.
What’s the difference between upstream and downstream sensors?
The upstream (pre-converter) sensor controls the fuel mixture; the downstream (post-converter) sensor checks that the catalytic converter is working. Codes name them as Sensor 1 (upstream) and Sensor 2 (downstream).
Do I need a special socket?
An O2 sensor socket with a slot for the wire makes the job much easier, but an offset O2 wrench also works, especially in tight spots.
When to Call a Professional
If the sensor is badly seized and won’t budge, stop before you round it off or crack the exhaust bung – a shop can heat it and extract it safely. Also see a professional if the code keeps returning after a correct replacement (it may be a wiring, converter, or vacuum-leak problem, not the sensor), or if you are not comfortable working under a raised vehicle. When in doubt, a proper diagnosis is cheaper than replacing parts that were never bad.