This post contains affiliate links.
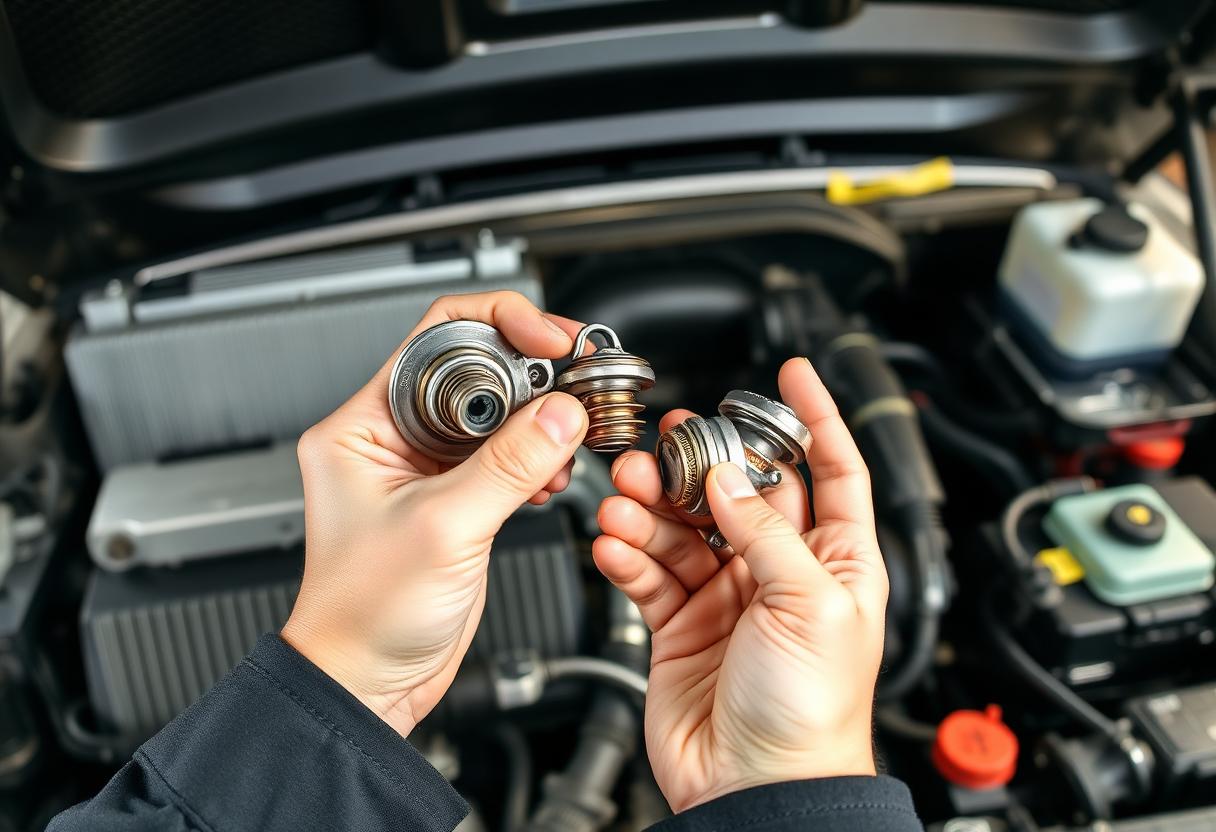
If your car’s check engine light is on with code P0128 (coolant temperature below thermostat regulating temperature), or if your engine runs cold, overheats, or the heater blows lukewarm, the thermostat is likely faulty. Replacing a thermostat is a straightforward DIY job that can save you a costly mechanic bill. This guide walks you through the symptoms, tools, and step-by-step replacement process.
Symptoms of a Bad Thermostat
A thermostat can fail in two ways: stuck open or stuck closed.
- Stuck open: Engine runs cold (gauge stays low), poor heater output, Check Engine Light with code P0128, and lower fuel economy.
- Stuck closed: Engine overheats quickly, coolant surges into the reservoir, and the radiator stays cool while the engine is hot. This can cause severe engine damage.
Other symptoms include fluctuating temperature gauge, coolant leaks near the thermostat housing, and a sweet smell of coolant.
Tools and Materials You’ll Need
- New thermostat (correct for your vehicle – check part number)
- New gasket or O-ring (often included with thermostat)
- Coolant (type specified in owner’s manual)
- Distilled water (if mixing coolant)
- Socket set and ratchet
- Screwdrivers (flathead and Phillips)
- Pliers (for hose clamps)
- Drain pan
- Funnel
- Rags or shop towels
- Safety glasses and gloves
Step-by-Step Thermostat Replacement
1. Safety First – Let the Engine Cool Completely
Never work on a hot cooling system. The coolant can exceed 200°F and cause severe burns. Park on a level surface, engage the parking brake, and wait until the engine is cold to the touch (at least an hour after driving).
2. Locate the Thermostat
The thermostat is usually housed in a metal housing where the upper radiator hose connects to the engine. Follow the upper radiator hose from the radiator to the engine – the housing is typically at the engine end, held by two or three bolts.
3. Drain the Coolant
Place a drain pan under the radiator drain plug (usually at the bottom of the radiator). Open the plug and drain enough coolant so the level is below the thermostat housing. If you plan to replace all coolant, drain completely. Close the drain plug after.
4. Remove the Thermostat Housing
Disconnect the upper radiator hose from the thermostat housing using pliers to loosen the clamp. Then remove the bolts holding the housing. Gently tap the housing with a screwdriver if it’s stuck. Lift off the housing and remove the old thermostat. Note the orientation – the jiggle pin (if present) usually faces up or toward the engine.
5. Clean the Mating Surfaces
Scrape off any old gasket material from both the housing and the engine using a razor blade or gasket scraper. Be careful not to gouge the surfaces. Wipe clean with a rag.
6. Install the New Thermostat and Gasket
Place the new thermostat into the recess with the correct orientation. Install the new gasket or O-ring. Some gaskets are dry, others require a thin smear of gasket sealant – check the instructions. Reattach the housing and tighten the bolts to the manufacturer’s torque specification (usually 10-15 ft-lb). Reconnect the upper radiator hose and tighten the clamp.
7. Refill Coolant and Bleed Air Pockets
Remove the radiator cap. Pour the correct coolant mixture (usually 50/50 coolant and distilled water) into the radiator until full. Then fill the overflow reservoir to the “full” line. Replace the cap.
Start the engine and turn the heater to full hot (this opens the heater core valve). Let the engine run until the thermostat opens (you’ll see coolant flow in the radiator and the upper hose gets hot). Watch the temperature gauge to ensure it stays normal. As the thermostat opens, coolant level may drop – add more as needed. Rev the engine gently to help purge air.
8. Check for Leaks and Verify
After the engine cools, check the coolant level again and top off if necessary. Inspect the housing and hose connections for leaks. Clear the trouble codes with an OBD-II scanner. Test drive to confirm normal temperature and heater performance.
Troubleshooting and Common Mistakes
- Overheating after replacement: Likely an air pocket. Let the engine cool, then repeat the burping process. Park on an incline with the front up to help air escape.
- Leaking thermostat housing: The gasket may be misaligned, or bolts under-torqued. Retighten evenly or replace gasket.
- Wrong thermostat: Using a thermostat with a different opening temperature can cause poor performance. Always match OEM specs.
- Stripped bolt: Over-tightening can strip threads. Use a torque wrench and apply thread locker if needed.
FAQ
How much does it cost to replace a car thermostat?
The thermostat part typically costs $10–$30, and coolant adds $10–$20. Total DIY cost is usually under $50. A shop would charge $150–$300 including labor.
Can I drive with a stuck-open thermostat?
Short distances are possible, but the engine may not reach optimal temperature, reducing fuel economy and engine life. It’s best to replace it promptly.
How long does a thermostat replacement take?
Most DIYers can complete the job in 1–2 hours, including coolant fill and bleeding.
What does code P0128 mean?
P0128 indicates the engine coolant temperature is below the thermostat’s regulating temperature for too long. It usually means the thermostat is stuck open or not closing fully. For full diagnostics of this code, see our P0128 guide.
When to Call a Professional
If you’re uncomfortable working with coolant, or if the thermostat housing is in a tight spot (like on some V6 or V8 engines), consider having a mechanic do the job. Also, if you have a high-mileage vehicle with a rusty cooling system, a professional flush might be warranted. If the engine overheated severely, have the head gasket and cylinder head checked for damage.