This post contains affiliate links.
Brake pads are the one part where waiting too long costs you real money. Change them on time and you pay a little. Wait until they grind, and you may have to buy pads and rotors and more — turning a small bill into a big one. Here is how to know exactly where your brakes stand.
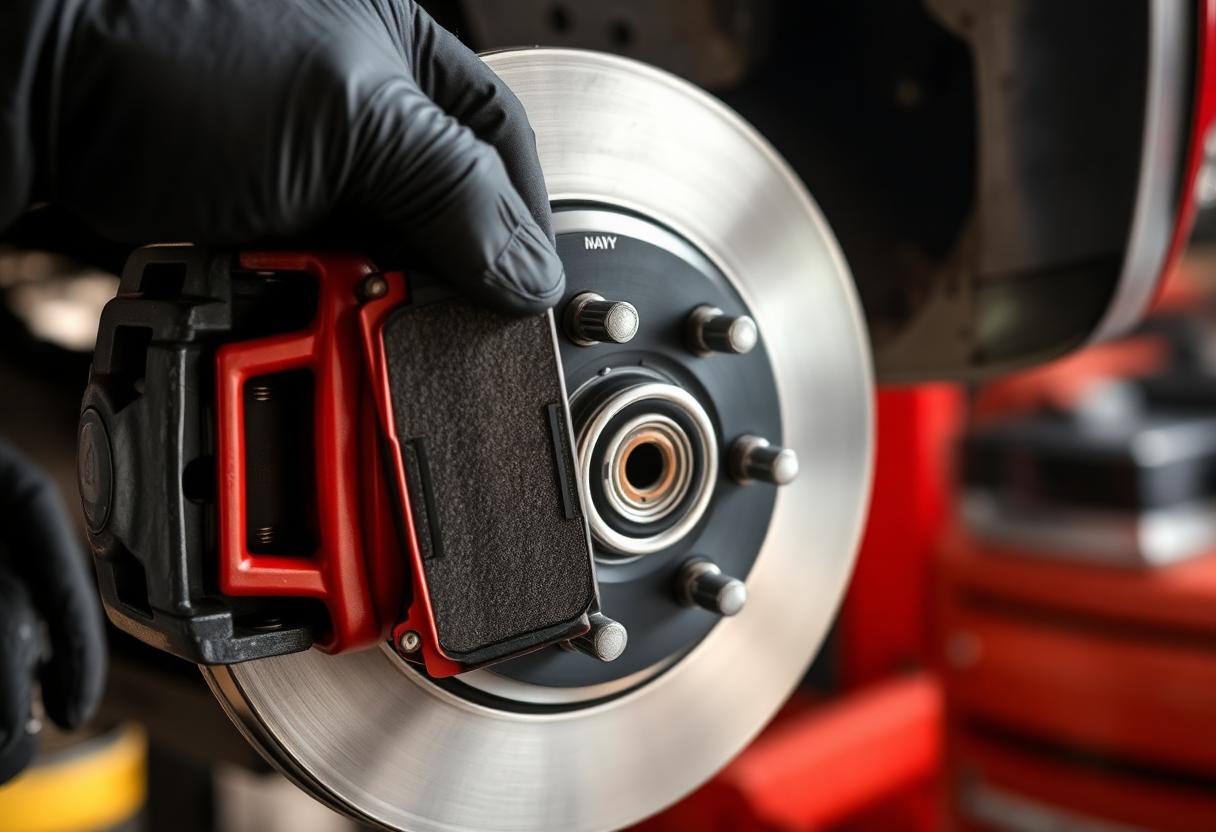
Quick word list: Brake pad = the block that squeezes the wheel to stop the car. Rotor = the shiny metal disc the pad squeezes. Caliper = the clamp that pushes the pad against the rotor.
How Long Do Brake Pads Last?
The honest answer: anywhere from 25,000 to 70,000 miles. That is a huge range, because it depends way more on how you drive than on time.
| How You Drive | Front Pads Usually Last |
|---|---|
| Highway, gentle braking | 50,000–70,000 miles |
| Mixed town and highway | 35,000–50,000 miles |
| Lots of city stop-and-go | 25,000–35,000 miles |
| Towing or hilly roads | 20,000–30,000 miles |
Front pads wear out about twice as fast as rear pads. When you brake, the car’s weight shifts forward, so the front brakes do most of the work. It is normal to be on your second set of front pads before the rears need any.
Notes by Car
- Honda Civic / Accord: Light cars, so pads usually last a long time. Many Hondas need a special “wind-back” tool for the rear brakes — do not force them with a clamp.
- Toyota Camry / RAV4: Similar wear. RAV4 rear pads wear faster if you always carry heavy cargo.
- Ford F-150: Heavy truck, and heavier when loaded. If you tow, expect the short end of the range.
The 5 Warning Signs
1. A High Squeal When You Brake
This is on purpose! Pads have a little metal tab called a wear indicator. When the pad gets thin, that tab touches the rotor and makes a squeal. It is your car saying, “I have a few thousand miles left — plan to change me soon.” Don’t panic, but don’t ignore it. This is the good warning, because it comes before the expensive one.
2. A Deep Grinding or Growling
This is the expensive one. Grinding means the soft pad material is gone and bare metal is now cutting into your rotor. Every stop from here carves grooves into a costly part.
Stop driving it. This is not a “next weekend” job. You will likely be buying rotors too.
3. A Soft or Low Brake Pedal
If the pedal feels mushy or sinks lower than it used to, that is usually not the pads — it can be air in the brake lines, a leak, or a failing master cylinder. Check your brake fluid level right away. If the pedal slowly sinks to the floor while you hold it at a stop light, do not drive — call for a tow.
4. Shaking or Pulsing in the Pedal
A rhythmic shudder that gets worse the harder you brake usually means warped or uneven rotors. New pads alone will not fix it — the rotors need to be resurfaced or replaced.
5. The Car Pulls to One Side When Braking
Pulling means one side is braking harder than the other. Common causes are a stuck caliper or a bad brake hose. This is a safety problem — get it checked soon.
How to Check Your Pad Thickness Yourself
You can often peek without removing the wheel, but taking the wheel off makes it much easier and clearer.
- Look through the wheel’s gaps at the brake. You will see the shiny disc (rotor) and the clamp (caliper) over it.
- Find the pad. The pad has a metal back and a thicker block of pad material on it. You are measuring only the pad material, not the metal back.
- Judge the thickness using this chart:
| Pad Thickness | Meaning | What To Do |
|---|---|---|
| 10–12mm | Brand new | Nothing |
| 6–8mm | Healthy | Check again in 10,000 miles |
| 4–5mm | Getting low | Start planning the job |
| 3mm | Change now | The squeal tab is close |
| Under 2mm | Danger | Do not drive far — rotor damage coming |
Easy trick: 3 U.S. quarters stacked up are about 5mm thick. If your pad looks thinner than that, it is time to replace.
Don’t Forget the Rotors
Pads and rotors work as a team. When you change pads, check the rotor too. Every rotor has a smallest-allowed thickness stamped on it (marked “MIN TH” with a number). Replace the rotors if:
- They are at or below that minimum number
- There is a sharp lip on the edge you can catch a fingernail on
- You see or feel deep grooves
- There is blue or purple coloring from heat
- Your pedal was pulsing before the job
Always Change Pads in Pairs
Never change the pads on just one front wheel. Braking has to be even side to side. Do both front wheels together, or both rear wheels together. This rule is not optional.
Breaking In New Pads
New pads and rotors need a gentle break-in so they wear in evenly. Skipping this is a top cause of “my new brakes already shake.” The usual steps: a series of medium stops from about 35 mph, then a few firmer stops from about 55 mph, letting the brakes cool a little between each. Then avoid stopping hard and holding your foot down on hot brakes for the first 100 miles. Follow the exact steps in the box your pads came in.
What Will It Cost?
| Job | DIY Parts | Shop Total |
|---|---|---|
| Front pads only | $40–$90 | $180–$350 |
| Front pads + rotors | $130–$280 | $350–$650 |
| All four wheels, pads + rotors | $250–$500 | $700–$1,200 |
Be honest with yourself: Brakes are a doable home job with a jack, jack stands, and a socket set — but they are what stops your car. If you are not sure you can tighten everything correctly, pay a shop. There is no shame in that, and no fixing a brake that fails.
The Simple Rule
Check your pads at every oil change. It takes two minutes with a flashlight. Catching them at 4mm instead of 0mm is the difference between a small, easy fix and a bill that ruins your month.